oil bath air cleaner filter removal instructions
Oil bath air cleaners represent a classic filtration method‚ predominantly found in older vehicles and machinery. They utilize oil to trap airborne particles‚ ensuring cleaner air reaches the engine.
Oil bath air cleaners are a traditional type of air filtration system commonly found in older vehicles and equipment. Unlike modern paper filters‚ these systems use a reservoir of oil to capture dust‚ dirt‚ and other airborne particles before they can enter the engine. The basic principle involves drawing air through an oil bath‚ where contaminants are trapped by the oil’s viscosity. The cleaned air then proceeds to the engine’s intake.
These systems were prevalent due to their simplicity and effectiveness in harsh environments. They are robust and can handle high levels of dust and debris‚ making them suitable for agricultural‚ construction‚ and off-road applications. While less common today‚ understanding their function and maintenance remains valuable for those working with vintage or specialized machinery. Regular servicing ensures optimal engine performance and longevity.
Understanding the Oil Bath Air Cleaner System
The oil bath air cleaner system comprises several key components working in concert. First‚ a housing contains a reservoir filled with oil‚ typically 30-weight. Air enters the system and is forced to change direction‚ impacting the oil surface. This impact causes heavier particles to become trapped in the oil.
Above the oil bath sits a mesh or filter element‚ often made of metal or felt. This element provides a surface for oil to cling to‚ further trapping finer particles as air passes through. Cleaned air then exits the cleaner and enters the engine’s intake manifold. Proper oil level is crucial for efficient operation; too little oil reduces filtration effectiveness‚ while too much can lead to oil being drawn into the engine. Regular maintenance‚ including cleaning and oil replacement‚ is essential to maintain optimal performance.
Importance of Regular Maintenance
Regular maintenance of your oil bath air cleaner is paramount for engine health and longevity. Over time‚ the oil in the bath becomes saturated with dirt‚ dust‚ and other contaminants‚ reducing its ability to effectively trap particles. This leads to dirty air entering the engine‚ causing increased wear and tear on vital components such as pistons‚ rings‚ and cylinder walls.
Neglecting maintenance can also result in decreased engine performance‚ reduced fuel efficiency‚ and potentially costly repairs. A clogged or dirty air cleaner restricts airflow‚ forcing the engine to work harder. Routine cleaning and oil replacement ensure optimal airflow‚ efficient combustion‚ and extended engine life. Furthermore‚ regular inspection allows for early detection of any damage or wear to the air cleaner components‚ preventing further issues.

Tools and Materials Needed
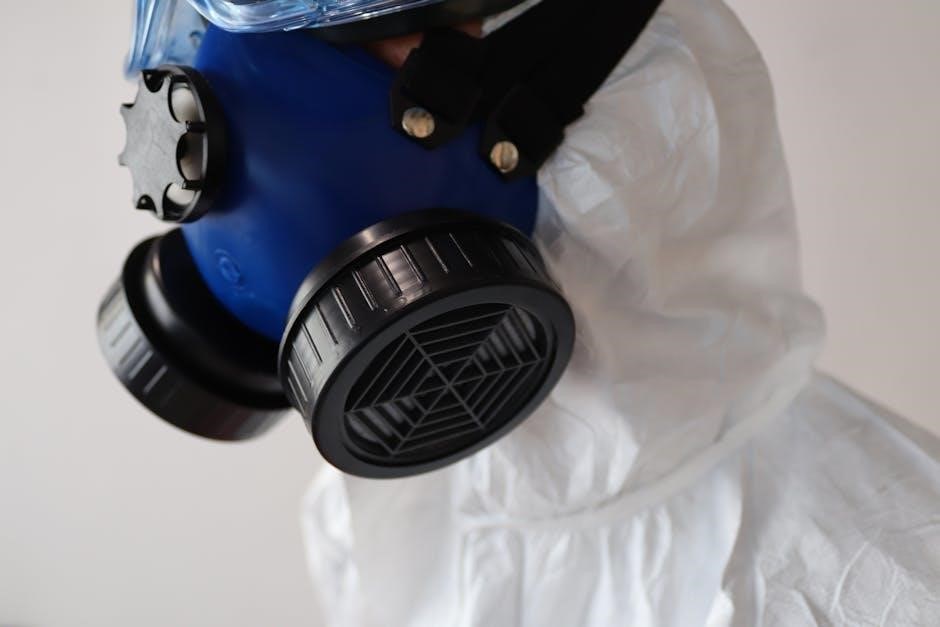
Before commencing any maintenance‚ prioritize safety. Wear gloves to protect your hands from solvents and oil; Work in a well-ventilated area to avoid inhaling fumes.
Safety Precautions
Prior to initiating any maintenance on your oil bath air cleaner‚ it’s crucial to prioritize safety. Begin by donning a pair of gloves constructed from a solvent-resistant material. This will shield your skin from potential irritants and contaminants present in the cleaning solutions and used engine oil.
Furthermore‚ ensure that you are working in a well-ventilated environment. This precaution is essential to minimize the inhalation of potentially harmful vapors emitted by the cleaning solvents. Adequate ventilation helps to maintain air quality and reduces the risk of respiratory irritation or other adverse health effects.
Eye protection is another critical safety measure. Wear safety glasses or goggles to prevent any splashes of cleaning solvent or dirty oil from coming into contact with your eyes. Eye irritation or injury can be easily avoided with this simple step. Remember‚ safety should always be paramount when working with mechanical components and cleaning agents.

Gathering Necessary Tools
Before commencing the oil bath air cleaner filter removal‚ it’s imperative to assemble all the required tools. A set of appropriately sized wrenches or sockets will be necessary to loosen and remove any bolts or fasteners securing the air cleaner assembly. Ensure you have the correct sizes to prevent damage to the components.
A screwdriver‚ both flathead and Phillips head‚ may also be needed to detach specific parts of the air cleaner housing. Additionally‚ prepare a catch pan or container to collect the old oil as you drain it from the air cleaner. This will help prevent spills and keep your workspace clean.
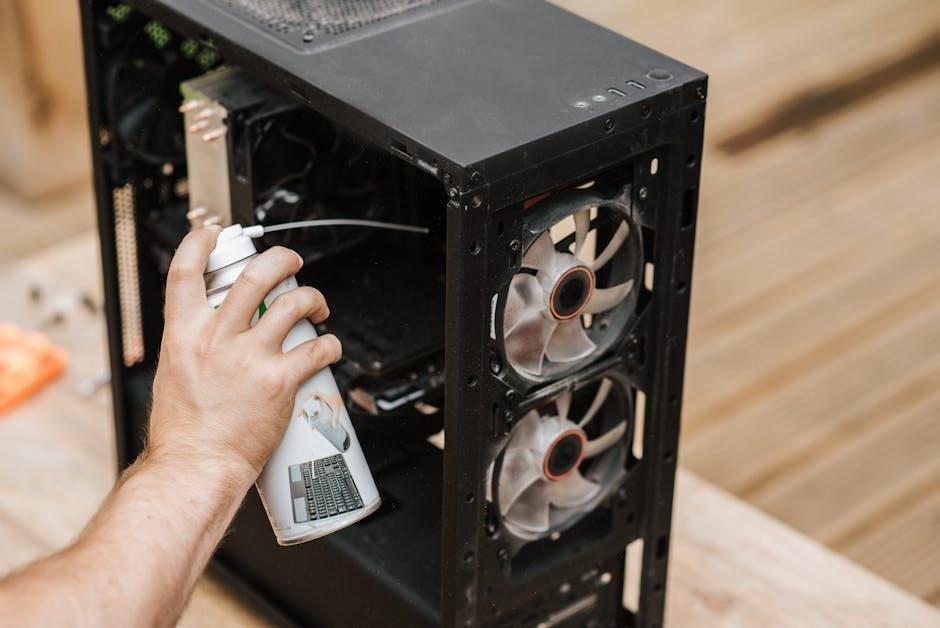
Furthermore‚ have a parts cleaning brush or a similar tool on hand to scrub away any accumulated dirt or grime from the air cleaner components. Proper tools will facilitate a smooth and efficient removal process.
Selecting Appropriate Cleaning Solvents
Choosing the right cleaning solvent is crucial for effectively cleaning the oil bath air cleaner filter without causing damage. Solvents like kerosene or diesel fuel are often recommended‚ as they can dissolve the oil and grime accumulated within the filter mesh. However‚ ensure proper ventilation when using these solvents due to their fumes.
Alternatively‚ commercial parts cleaners are available‚ designed specifically for automotive components. These cleaners are formulated to remove grease and oil effectively. Avoid using harsh chemicals such as brake cleaner or carburetor cleaner‚ as they can degrade the filter material.
When selecting a solvent‚ consider its compatibility with the filter material and always follow the manufacturer’s instructions. After cleaning‚ ensure the filter is thoroughly rinsed and dried before reassembling the air cleaner. Proper solvent selection will ensure effective cleaning and prolong the life of the filter.
Choosing the Correct Oil Type
Selecting the correct oil type for your oil bath air cleaner is essential for its proper function and longevity. Typically‚ a non-detergent SAE 30 weight motor oil is recommended‚ as it provides the necessary viscosity to trap dirt and debris effectively. Avoid using multi-grade oils or oils with detergents‚ as these can foam and reduce the air cleaner’s efficiency.
Refer to your vehicle or machinery’s service manual for specific oil recommendations. Using the wrong oil type can lead to inadequate filtration‚ allowing contaminants to enter the engine. Additionally‚ incorrect oil can cause the filter to become overly saturated or create excessive sludge.
Ensure the oil is clean and free from contaminants before adding it to the oil bath. Regular oil changes in the air cleaner are crucial for maintaining optimal performance. By using the correct oil type‚ you can maximize the air cleaner’s ability to protect your engine from harmful particles.
Step-by-Step Removal Instructions
Removing the oil bath air cleaner involves several key steps‚ starting with locating the housing and carefully detaching the assembly. Disassembly and filter element removal follow.
Locating the Air Cleaner Housing
The first crucial step in removing an oil bath air cleaner is accurately locating its housing. Typically‚ this housing is positioned atop the engine‚ often connected to the carburetor or intake manifold. Look for a large‚ metallic canister or container‚ usually cylindrical or oval in shape. Its size is noticeably larger than modern air filter housings.
Examine the connections; you’ll likely find a hose or duct leading from the housing to the engine. Depending on the vehicle or machinery‚ it might be secured with clamps or bolts. Older systems might have a more integrated design‚ making the housing a more prominent part of the engine assembly. Consulting the vehicle’s repair manual can provide precise location details and diagrams‚ ensuring you identify the correct component. Don’t confuse it with other engine parts; the air cleaner housing is specifically designed for air filtration and will have unique features like an oil reservoir at the base.
Detaching the Air Cleaner Assembly
Once you’ve located the air cleaner housing‚ the next step involves carefully detaching the entire assembly. Begin by loosening any clamps or bolts that secure the housing to the carburetor or intake manifold. These fasteners may be corroded or tight‚ so use appropriate tools and penetrating oil if necessary. Gently disconnect any hoses or ducts connected to the air cleaner. Be mindful of vacuum lines or sensors that might be attached; detach them carefully to avoid damage.
With all connections released‚ carefully lift the entire air cleaner assembly away from the engine. It might be heavy and contain oil‚ so handle it with caution to prevent spills. Place the assembly on a clean work surface‚ preferably covered with a drop cloth or newspaper‚ to protect from oil residue. Take note of the orientation and arrangement of the components as you remove them‚ as this will aid in reassembly later. If the assembly seems stuck‚ double-check for any overlooked fasteners or connections before applying excessive force.
Disassembling the Air Cleaner Components
With the air cleaner assembly detached‚ carefully disassemble its components. Begin by removing the top cover‚ usually secured by clips‚ screws‚ or a central wing nut. Underneath‚ you’ll typically find the filter element and an oil reservoir. Carefully separate these parts‚ noting their order and orientation for correct reassembly. The filter element might be a mesh or a combination of mesh and felt.
Be prepared for oil spillage as you remove the components‚ as the reservoir will likely contain used oil and grime. Place a container underneath to catch any drips. As you disassemble‚ inspect each part for damage or wear. Note the condition of gaskets and seals‚ as these might need replacement to ensure a proper seal upon reassembly; Clean each component individually after disassembly to remove accumulated dirt and old oil.
Removing the Filter Element
Once the air cleaner housing is disassembled‚ the next step involves removing the filter element itself. Depending on the design‚ the filter element might simply lift out‚ or it could be secured by clips or a retaining mechanism. Carefully detach any fasteners holding the filter in place. With the fasteners removed‚ gently lift the filter element out of the housing.
Take note of the element’s orientation as you remove it; some filters have a specific “up” or “down” direction. If the element appears stuck‚ avoid using excessive force‚ which could damage it. Instead‚ try gently wiggling it or applying a penetrating oil to loosen any grime that might be holding it in place. Once free‚ carefully remove the filter element‚ being mindful of any residual oil or debris. Place the element aside for cleaning and inspection.

Cleaning and Servicing the Filter Element
With the filter element removed‚ the next crucial step involves thorough cleaning and servicing. This ensures optimal performance and prolongs the life of your engine.
Inspecting the Filter Mesh
After removing the filter element from the oil bath air cleaner‚ a careful inspection of the filter mesh is paramount. This step allows you to assess the extent of accumulated debris and identify any potential damage that could compromise its functionality. Begin by visually examining the mesh for signs of excessive dirt‚ oil sludge‚ or other contaminants that may have accumulated over time.
Pay close attention to the overall condition of the mesh. Look for tears‚ holes‚ or any structural weaknesses that could allow unfiltered air to bypass the cleaning process. Small perforations or damage can significantly reduce the filter’s effectiveness‚ leading to potential engine problems. Furthermore‚ check for any signs of corrosion or rust‚ particularly if the air cleaner has been exposed to moisture or harsh environmental conditions. Identifying these issues early can prevent further deterioration and ensure the longevity of your air cleaner system. If the mesh is severely damaged or corroded‚ consider replacing it to maintain optimal engine protection.
Cleaning the Mesh with Solvent
Once you’ve inspected the filter mesh‚ the next crucial step is thoroughly cleaning it using an appropriate solvent. This process removes accumulated dirt‚ oil‚ and other contaminants‚ restoring the mesh’s filtering efficiency. Begin by selecting a suitable cleaning solvent‚ such as kerosene‚ diesel fuel‚ or a specialized parts cleaner. Place the filter mesh in a container filled with the chosen solvent‚ ensuring it is fully submerged.
Allow the mesh to soak for at least an hour‚ or even overnight for heavily soiled filters. This soaking period allows the solvent to penetrate and loosen stubborn deposits. After soaking‚ agitate the mesh vigorously within the solvent to dislodge remaining particles. Use a soft brush to gently scrub the mesh‚ paying particular attention to areas with heavy build-up. Rinse the mesh thoroughly with clean solvent until all traces of dirt and cleaning agent are removed‚ ensuring a pristine surface for optimal performance.
Drying the Filter Element
After meticulously cleaning the filter element with solvent‚ the subsequent step involves thoroughly drying it before reassembly; This prevents any residual solvent from contaminating the oil bath and ensures optimal filter performance. The most effective method is to allow the filter element to air dry naturally. Place the cleaned mesh in a well-ventilated area‚ preferably in direct sunlight‚ to facilitate the evaporation of any remaining solvent.
Ensure the mesh is positioned to allow for maximum airflow around all surfaces. If time is a constraint‚ compressed air can be used to expedite the drying process. Gently blow compressed air through the mesh‚ ensuring all solvent traces are removed. Before reinstalling‚ meticulously inspect the filter element to confirm it is completely dry and free from any lingering solvent odor. A properly dried filter element is crucial for maintaining the efficiency and longevity of the oil bath air cleaner system.

Reassembling and Reinstalling the Air Cleaner
With the filter meticulously cleaned and dried‚ the next phase involves carefully reassembling all components. Subsequently‚ the entire unit must be correctly reinstalled onto the engine‚ ensuring a secure fit.
Refilling the Oil Bath
After thoroughly cleaning the oil bath housing‚ the next critical step involves refilling it with fresh oil. Consult your vehicle’s or machinery’s service manual to determine the correct oil type and quantity. Typically‚ SAE 30 weight oil is recommended‚ but always verify the manufacturer’s specification to avoid potential damage or reduced performance.
Carefully pour the new oil into the designated reservoir within the air cleaner housing. Most oil bath air cleaners have a clearly marked fill line indicating the appropriate oil level. Avoid overfilling‚ as this can lead to oil being drawn into the engine‚ causing smoking and potential engine damage. Similarly‚ underfilling reduces the air cleaner’s effectiveness in trapping dirt and debris.
Once the oil reaches the fill line‚ double-check the level and ensure there are no leaks from the housing. A proper oil level is crucial for the air cleaner to function correctly‚ effectively capturing contaminants and protecting the engine from harmful particles. This step is essential for maintaining optimal engine health and longevity.
Reassembling the Air Cleaner Components
With the oil bath refilled to the correct level‚ the next step is to carefully reassemble the air cleaner components. Begin by placing the cleaned and dried filter element back into its designated position within the air cleaner housing. Ensure that the filter element is seated correctly and securely to maximize its filtering efficiency.
Next‚ reattach any retaining clips‚ bands‚ or screws that hold the filter element in place. These components are crucial for maintaining a proper seal and preventing unfiltered air from entering the engine. Tighten the fasteners to the manufacturer’s specified torque to avoid over-tightening‚ which could damage the housing or strip the threads.
Double-check that all components are correctly aligned and securely fastened before proceeding. A properly reassembled air cleaner ensures optimal filtration and protects the engine from harmful contaminants. Neglecting this step could lead to reduced engine performance and potential engine damage over time.
Reattaching the Air Cleaner Assembly
Once the air cleaner components are reassembled‚ carefully reattach the entire assembly to the engine. Align the air cleaner housing with the carburetor or intake manifold‚ ensuring a proper and secure fit. Use the original mounting hardware‚ such as bolts‚ clamps‚ or clips‚ to fasten the air cleaner assembly in place.
Tighten the fasteners evenly and securely‚ following the manufacturer’s torque specifications to prevent air leaks or damage to the mounting points. Double-check that the air cleaner assembly is stable and does not wobble or vibrate. A loose air cleaner can allow unfiltered air to enter the engine‚ leading to reduced performance and potential damage.
Ensure all hoses and connections are properly reconnected‚ such as the crankcase ventilation hose. These connections are essential for proper engine operation and emission control. Take your time and ensure everything is connected correctly before starting the engine.
Checking the Oil Level
After reassembling and reattaching the air cleaner assembly‚ verifying the oil level within the oil bath is crucial. Locate the oil level indicator mark on the air cleaner housing‚ typically a line or notch indicating the correct oil level. Ensure the vehicle or machinery is on a level surface for an accurate reading.
Remove the air cleaner’s top cover or designated access point to view the oil level. Add or drain oil as necessary to reach the specified level. Use the correct type and weight of oil recommended by the manufacturer.
Underfilling the oil bath reduces its effectiveness in trapping contaminants‚ while overfilling can lead to oil being sucked into the engine. Once the oil level is correct‚ securely replace the cover or access point‚ ensuring it is properly sealed to prevent leaks and maintain optimal performance.

Post-Maintenance Check
Following the reassembly and servicing of your oil bath air cleaner‚ performing a post-maintenance check is important. This confirms correct functionality and identifies any potential issues.
Ensuring Proper Seal
After reassembling the oil bath air cleaner‚ ensuring a proper seal is paramount for optimal performance. A compromised seal can lead to unfiltered air entering the engine‚ diminishing the effectiveness of the air cleaner.
Begin by visually inspecting the mating surfaces of the air cleaner housing. Ensure that all gaskets and seals are correctly positioned and in good condition. Replace any damaged or worn gaskets to guarantee a tight seal.
Carefully tighten all bolts and clamps securing the air cleaner assembly. Use a torque wrench to adhere to the manufacturer’s specified torque settings. Over-tightening can damage the housing or gaskets‚ while under-tightening can result in leaks.
Following the tightening process‚ re-inspect the entire assembly. Look for any gaps or misalignments that could indicate a potential leak point. A thorough inspection is vital for long-term engine health.
Checking for Air Leaks
After confirming a proper seal‚ the next crucial step is meticulously checking for any air leaks within the oil bath air cleaner system. Air leaks can significantly reduce the system’s efficiency‚ allowing unfiltered air and debris to enter the engine‚ potentially causing damage over time.
With the engine running‚ carefully listen for any unusual whistling or hissing sounds around the air cleaner housing and connections. These sounds often indicate the presence of an air leak.
Another effective method involves using a smoke or spray bottle. Direct small puffs of smoke or spray around the perimeter of the air cleaner assembly. If there is a leak‚ the smoke or spray will be drawn into the system‚ visually confirming the leak’s location.
Address any identified leaks immediately by tightening connections‚ replacing gaskets‚ or repairing damaged components. Re-test the system after making repairs to ensure all leaks are resolved.